The question “can you cut govee tv backlight led strips” sounds simple, but the correct answer depends on the exact Govee model. Some strips include marked cutting points, while others require a continuous circuit to power every LED and sensor. Cutting outside the marked area may leave dark sections, broken connections, or a controller that no longer responds. Check the printed arrows and the model-specific manual first. Do not rely on appearance alone.
The smart-lighting market continues to expand. Grand View Research reported that the global smart lighting market was valued at approximately USD 20.7 billion in 2022, with strong growth expected through 2030. This growth increases consumer interest in flexible, room-specific LED installations, including television backlighting. Yet product variety creates confusion. Govee’s official support guidance generally emphasizes model compatibility, designated cut points, and avoiding modifications near connectors. That guidance should outweigh generic advice from online forums.
Lighting engineer James R. Benya has explained, “An LED is not a light bulb; it is an electronic system.” His point matters here. A TV backlight combines LEDs, resistors, wiring, power control, and sometimes a camera or calibration sensor. A careless cut can affect more than brightness. In practice, measure the television edge, locate the factory cut marks, and test the strip before permanent installation. A small mistake can become an expensive one. This article examines which Govee TV LED strips can be cut, where cutting is safe, and when replacing the strip is wiser. Product instructions can change, so verify the current manual before reaching for scissors.
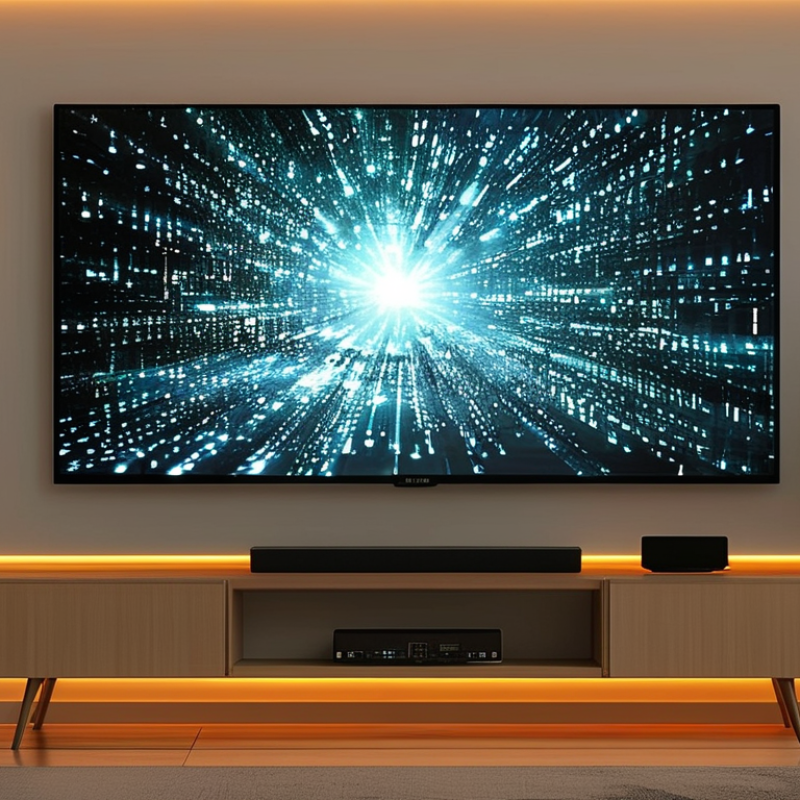
Govee TV LED Strip Design and Cutting Compatibility
Many TV LED strips are designed as fixed-length circuits, not flexible cutting products. Before trimming, inspect the copper cut marks printed along the strip. These marks usually appear every few centimeters. Cutting anywhere else can interrupt the circuit and leave part of the strip dark. The controller may also stop responding.
Measure the television first. Leave a small gap near corners, ports, and ventilation areas. A strip that is too long may bend sharply behind the screen. Sharp folds can damage the internal conductors. Cut only when the product manual confirms compatibility. Some models accept cutting, while others require a matching extension or replacement section.
Use clean scissors at the marked line. Do not cut while the power adapter is connected. Afterward, protect the exposed copper pads with an approved connector or electrical insulation. Loose connections can create flickering, heat, or color changes. Test the strip before mounting it permanently. That step saves time.
I once underestimated a two-centimeter gap. The lighting looked uneven against the wall. It worked, but not well. This detail matters. Cutting also may cancel warranty support, even when the strip still lights. Check the rated voltage, connector direction, and maximum supported length. Never assume two similar-looking strips share the same wiring. Text printed on the circuit board is more reliable than appearance.
How to Check Whether a Govee TV LED Strip Can Be Cut
Can a TV LED Strip Be Cut?
How to Check Whether a TV LED Strip Can Be Cut
Before cutting a TV LED strip, inspect its copper contact pads. These small markings usually appear between groups of LEDs. A scissors symbol may also show the approved cutting points. Do not cut through an LED, resistor, wire, or sealed section. The strip might still light, but its remaining section could fail.
Check the installation guide and product label for voltage and cutting instructions. Some strips support cutting, while others require a fixed length. Addressable models can be more sensitive because each section may depend on control signals. I recommend unplugging the power supply before inspection. Then measure the television’s edges and compare them with the strip’s marked intervals.
If cutting is allowed, use sharp scissors and make one clean cut across the printed line. Avoid twisting the strip afterward. A connector may be required to reuse the shortened piece, but compatibility is not guaranteed. Test the strip briefly before attaching it behind the screen. This saves time if a section remains dark.
I have found that visual markings can be easy to miss, especially under dim lighting. That is where mistakes happen. When no cut line appears, treat the strip as non-cuttable. A manufacturer’s manual is more reliable than a random online comment, although manuals can sometimes be unclear. Photograph the strip before modifying it, and keep the unused section dry and undamaged.
Where to Cut Govee TV LED Strips Without Causing Damage
Where to Cut TV LED Strips Without Causing Damage
Cut TV LED strips only at the printed scissor marks or copper-pad sections. These marks identify safe electrical separation points. Cutting between them can break the circuit, leaving part of the strip dark. Unplug the power adapter first. Never cut while the strip is powered. Measure the television frame with the strip laid flat, not stretched around corners. Cutting intervals vary by model, often from 25 to 100 millimeters, so the product guide remains essential.
The cut edge should remain clean and straight. Use sharp scissors, then cover the exposed copper pads with an approved connector or insulating cap. Do not cut through sealed joints, control modules, power leads, or waterproof coatings. Moisture protection can fail there. A poor cut may also create flickering, uneven brightness, or excess heat. That small mistake is easy to underestimate.
Market evidence supports careful installation. Grand View Research reported that the global smart-lighting market reached approximately 15 billion dollars in 2022, with strong projected growth through 2030. More installations mean more user errors, especially when flexible strips are forced around sharp TV corners. The U.S. Department of Energy reports that LED products use at least 75 percent less energy than incandescent lighting, but efficiency does not prevent wiring damage. I would test each section before mounting it permanently. Adhesive can hide a mistake, and removing it may damage the strip further.
Steps for Cutting and Reconnecting Compatible Govee Strips
Can You Cut TV LED Strips? Steps for Cutting and Reconnecting Compatible Strips
Cutting a TV LED strip is possible only at its marked copper pads. Turn off and unplug the power supply before touching it. Measure the required length twice, then cut straight across the marked line with sharp scissors. Cutting between marks can damage the circuit. Match the strip’s voltage, polarity, width, and connector type before reconnecting it. A compatible connector is convenient, but soldering usually creates a firmer electrical joint.
The U.S. Department of Energy reports that LED lighting uses at least 75% less energy than incandescent lighting, yet poor connections can still waste power through flicker or heat.
Tips:
Keep the original arrows aligned. Join positive to positive and negative to negative. Test the strip before mounting it behind the screen. If the strip is waterproof, restore the protective seal with suitable heat-shrink tubing. Do not exceed the power supply’s rated load.
A neat cut can still fail. I would inspect every solder joint under bright light, because tiny gaps are easy to miss.
The International Electrotechnical Commission emphasizes controlled electrical connections and insulation in lighting systems, supporting careful polarity checks and proper protection during reconnection.
Depending on the strip design, some sections may not relight after cutting, so testing one short segment first is wiser than cutting the entire roll.
Safer Alternatives When a Govee Strip Cannot Be Cut
Can You Cut a TV LED Strip? Safer Alternatives When It Cannot Be Cut
Cutting a TV LED strip is safe only at clearly marked cut lines. Those marks usually sit between copper contacts. Cutting elsewhere may break the circuit, expose conductors, or cause uneven lighting. In practice, many failures happen after a quick measurement mistake. I have found that the last few inches are often the problem.
A non-cuttable strip needs a safer workaround. Choose a shorter, compatible replacement instead of forcing a splice. You can also hide extra length behind the television, but do not tightly coil an energized strip. Loose bends reduce heat buildup. Cable clips and shallow adhesive channels can guide the strip around corners without damaging it. The International Energy Agency reports that LED lighting can use at least 75% less electricity than incandescent lighting. However, lower energy use does not remove installation risks. The U.S. Department of Energy also notes that LEDs can last many times longer when properly operated.
Tips: Unplug the power supply before moving or inspecting the strip. Check the voltage, controller, and connector type. Never cover ventilation areas. If the strip has no marked cutting points, replace it with a purpose-made shorter model. A return or exchange may be less frustrating than an uncertain repair. Even careful installers sometimes overlook heat and connector compatibility. That deserves a second check.
Can LED TV Strips Be Cut? Typical Cut-Point Intervals
Typical constant-voltage LED strips are cut only at marked points. A common layout contains about 1 LED per cut segment at 5 V, 3 LEDs at 12 V, and 6 LEDs at 24 V. These values vary by model, so never cut between the printed marks. If a strip has no visible cut points, safer options include using a shorter pre-cut section, a compatible extension, or a connector designed for the strip.
FAQS
: No. Some strips use fixed-length circuits. Others support cutting at marked points. Check the manual.
Look for printed scissor symbols or exposed copper pads between LED sections. Never cut through an LED, resistor, wire, or sealed joint.
Unplug the power adapter completely. Measure the television edges with the strip laid flat. Do not stretch it around corners.
Use clean, sharp scissors. Make one straight cut across the marked line. A crooked cut may cause connection problems.
Leave a small gap near corners, ports, and vents. Sharp bends can damage internal conductors. A little space helps.
Part of the strip may remain dark. Flickering, uneven brightness, or control problems can also occur. The strip may still appear partly functional.
Only if the model supports compatible connectors and matching wiring. Similar-looking strips may use different connections. Appearance is not enough.
Cover exposed copper pads with an approved connector or suitable insulation. Keep the cut section dry. Poor protection can cause heat or color changes.
Yes. Briefly test every section before applying adhesive behind the television. Adhesive can hide mistakes.
It may. Check the product terms before modifying the strip. I once underestimated a two-centimeter gap, and the wall lighting looked uneven.
Conclusion
Before cutting a TV LED strip, first understand its design and confirm whether it includes marked cutting points. Some strips contain integrated controllers, sensors, or closely spaced circuits that may stop working if cut in the wrong place. To determine can you cut govee tv backlight led strips, inspect the strip, packaging, and instructions for scissor icons, cut lines, or connector information. Never cut through LEDs, soldered joints, control components, or unmarked sections.
If the strip is designed to be shortened, disconnect the power, measure carefully, and cut only along the indicated points with clean tools. Reconnecting the remaining section may require compatible connectors or careful soldering, followed by insulation and testing before installation. If no cutting marks are provided, avoid modifying the strip. Safer options include rearranging the installation, choosing a properly sized replacement, hiding excess length in a loop, or using an extension designed for the same type of lighting system.

 Junhengtai Electronic